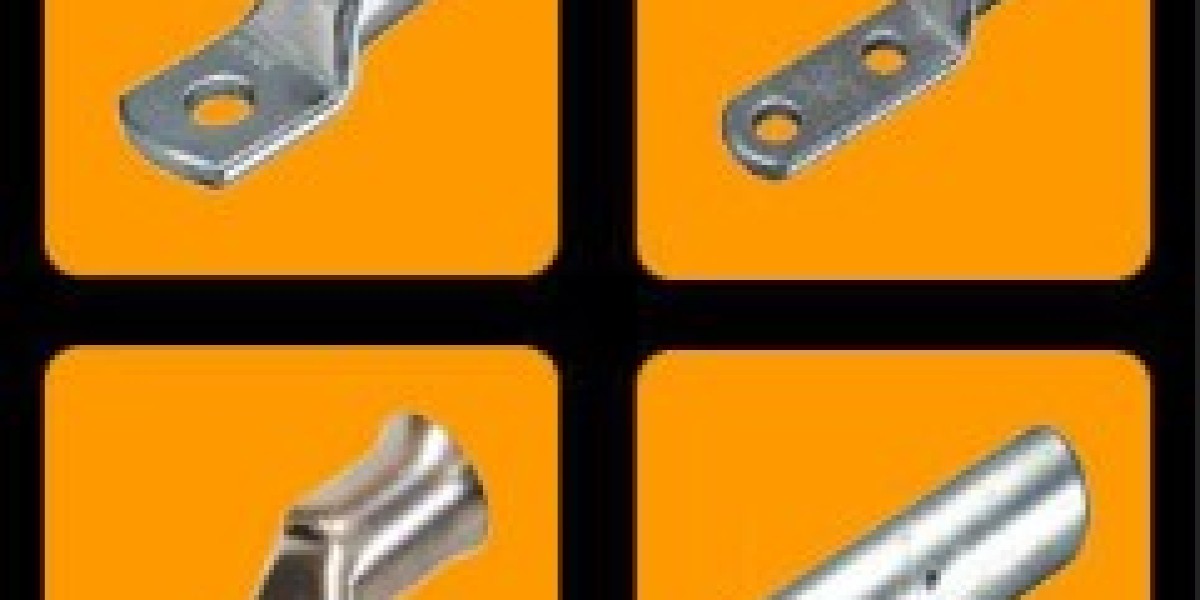
Copper cable lugs are critical for establishing secure electrical connections, ensuring efficient power transfer in both residential and industrial setups. Proper installation is essential to prevent connection issues, ensure safety, and enhance durability. This step-by-step guide provides practical tips for installing copper cable lugs, covering essential tools, preparation steps, and installation techniques to achieve a safe and reliable connection.
Why Proper Installation of Copper Cable Lugs Matters
Installing copper cable lugs properly is essential for establishing a dependable electrical connection. Improper installation can lead to issues like overheating, loose connections, and potential safety hazards. Following recommended installation steps helps ensure that the copper lug provides a stable connection with minimal resistance, which is crucial for performance, especially in high-power applications.
Tools and Materials Needed
Before beginning the installation, gather the necessary tools and materials:
- Cable Stripping Tool: For accurately stripping the cable insulation without damaging the wire strands.
- Crimping Tool: Used to compress the lug onto the cable securely.
- Heat Gun (if applicable): For heat-shrink tubing to add insulation and protection.
- Insulation Tape: For securing connections in high-moisture or high-risk areas.
- Copper Cable Lugs: Ensure you select the correct size and type based on the cable specifications.
Step-by-Step Guide to Installing Copper Cable Lugs
Step 1: Choose the Right Copper Cable Lug
Selecting the appropriate lug size is the first and most important step. A copper cable lug that’s too large or small for the wire may lead to poor contact or a loose fit, resulting in inefficient current flow and potential overheating. Match the lug size to the cable diameter to ensure a secure fit.
Step 2: Prepare the Cable
Begin by stripping the insulation from the end of the cable using a cable stripping tool. Be cautious not to nick or damage the conductor strands, as this can weaken the connection and reduce conductivity. Generally, stripping about one inch of insulation is sufficient, but check the lug’s specifications to confirm the exact amount.
Step 3: Insert the Cable into the Lug
Insert the stripped cable into the barrel of the copper lug until it reaches the end. Ensure that the conductor fills the lug barrel entirely for maximum contact and stability. If any conductor strands are sticking out, cut them back, as this could compromise the connection quality.
Step 4: Crimp the Lug Securely
Crimping is crucial to a secure installation. Select the correct die on the crimping tool to match the cable lug size. Position the crimping tool over the barrel section of the lug and compress it firmly. For larger cables, it may be necessary to apply multiple crimps along the lug to secure the connection. A good crimp provides uniform pressure on the conductor, minimizing resistance and preventing the lug from loosening over time.
Step 5: Inspect the Crimp
After crimping, visually inspect the connection to ensure it’s secure. The cable should be tightly bound within the lug without any visible gaps. Test the strength of the crimp by gently pulling on the cable; it should stay firmly in place.
Step 6: Apply Heat-Shrink Tubing (Optional)
For added insulation and protection, especially in outdoor or high-moisture environments, slide a piece of heat-shrink tubing over the crimped connection. Use a heat gun to shrink the tubing around the lug and cable, providing a seal that guards against moisture, corrosion, and accidental contact with other conductors.
Step 7: Secure the Cable Lug to the Connection Point
Once the lug is attached to the cable, it’s ready to be connected to the equipment or terminal. Place the lug over the connection point and secure it using a bolt, ensuring it’s tightly fastened to prevent movement or loosening. A firm connection reduces the chance of electrical resistance and overheating.
Step 8: Perform a Final Inspection
Finally, check the entire installation to ensure all connections are tight and secure. Look for any exposed wires or gaps, particularly around the lug’s barrel and crimp. If everything appears in order, the cable lug is ready to be energized.
Additional Tips for Successful Installation
- Avoid Over-Crimping: Excessive pressure can deform the lug and damage the conductor, reducing conductivity. Use the correct crimping tool settings to avoid this.
- Clean the Cable and Lug Surfaces: For optimal conductivity, make sure the cable and lug surfaces are free from dirt, oil, or oxidation before installation. A quick wipe with a cloth can remove contaminants that might hinder the connection.
- Use Anti-Oxidation Compound: In corrosive environments, applying an anti-oxidation compound to the lug can help prevent corrosion, extending the life of the connection.
- Check Manufacturer Guidelines: Different copper lugs may have specific installation requirements. Refer to the manufacturer’s instructions to ensure compatibility and safe installation.
Common Mistakes to Avoid
- Choosing the Wrong Lug Size: A mismatch between the lug and cable size can result in a loose connection or poor conductivity, leading to overheating.
- Improper Stripping: If insulation is stripped unevenly or too much is removed, it can expose the conductor to environmental hazards or reduce contact quality.
- Insufficient Crimping: A weak crimp can loosen over time, compromising the stability of the electrical connection.
Conclusion
Proper installation of copper cable lugs is essential for ensuring reliable, safe, and efficient electrical connections. By following these steps and using the right tools, you can achieve a secure connection that minimizes resistance, enhances conductivity, and prevents common issues like overheating. Investing time in correct installation techniques will enhance the performance and longevity of your electrical system, making copper cable lugs a valuable component in both industrial and residential applications.


