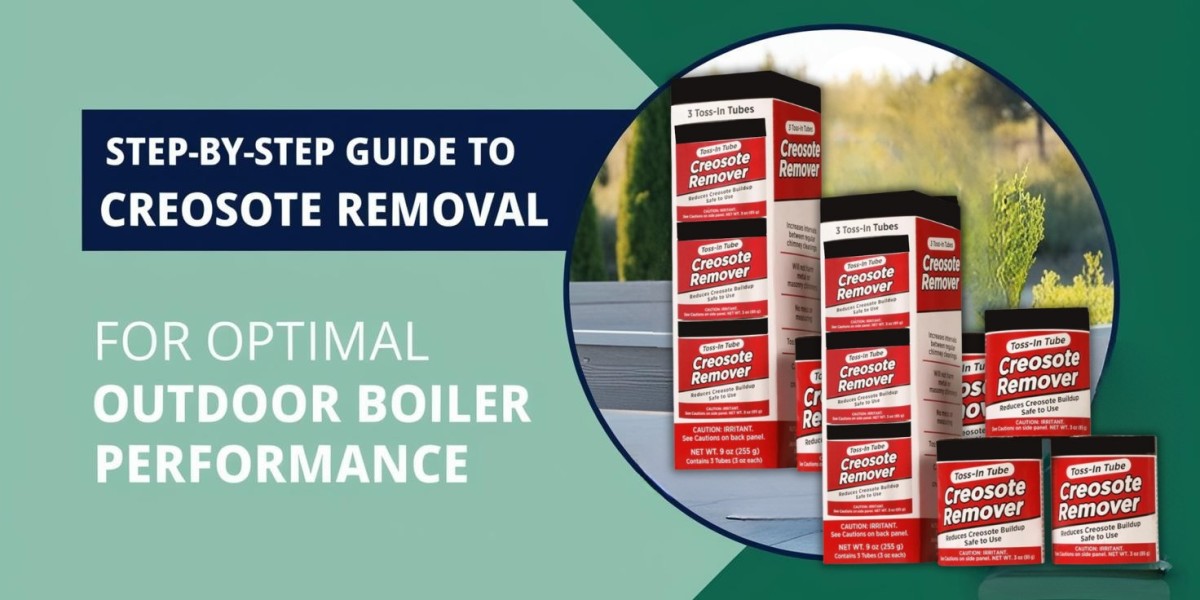
Creosote buildup is a very common problem in outdoor boiler users. This leads to less efficient use of fuel, higher consumption of fuel, and the possibility of more hazardous fire situations. So, to make sure that your outdoor boiler operates well and safely, proper maintenance is essential. We'll help you in removing creosote step by step to keep your outdoor furnace in top shape for as long as possible.
Why Is Creosote Removal Important?
Creosote is a combustion byproduct from burning wood. It tends to accumulate inside the flue and chimney of your outdoor boiler, especially when burning low-moisture wood or inefficiently. Left untreated, creosote builds up into a hard, tar-like substance that can block flues, making it more difficult for your boiler to vent properly. In addition to making your system less efficient, it increases the potential for chimney fires.
Step 1: Gather Necessary Tools and Materials
Before you start cleaning, it's important to be prepared with all the tools and equipment that will be required to do the task:
- Creosote remover, available in powdered, liquid, or stick forms
- Protective gloves
- Safety goggles
- A brush or flue cleaning tool for the chimney
- A vacuum cleaner or dustpan for the debris
- A ladder to access the boiler's chimney
Step 2: Turn Off the Boiler and Allow it to Cool
For safety reasons, the outdoor boiler should be switched off and cool down before working on it. This helps in preventing injuries caused by hot surfaces or fumes.
Step 3: Apply Creosote Remover
Next is the application of the creosote remover to the chimney. For powder or granular products, you can just pour it into the firebox. For liquid or spray-based removers, simply follow the instructions on the label for proper application. Usually, you will apply the remover when the firebox is still warm but not hot, to activate the cleaner.
Some products are intended to be burned off with a high-temperature fire, while others need to sit for hours. Look for instructions on the product about how to apply it best.
Step 4: Scrub the Chimney and Flue
Once the remover has had time to work, scrub away the softened creosote with a chimney brush or flue cleaning tool. Start at the top of the chimney and work your way down, gently loosening any built-up material. Clean the chimney cap as well.
Step 5: Vacuum the Area
After scrubbing the flue, vacuum up any loose debris and particles. If you have a smaller area, you can use a shop vacuum or simply sweep with a dustpan. Always clean the areas around your boiler so buildup does not happen again.
Step 6: Check your boiler system
Once you have removed the creosote, take a little time to inspect your outdoor boiler. Make sure that all components are in good condition, including the door seals, chimney, and ventilation system. Regular inspection will help identify any potential issues early on, allowing you to keep your system running efficiently.
Step 7: Dispose of Waste Properly
Creosote residue should be disposed of carefully. It should be placed in a metal container that can be sealed tightly to avoid accidental ignition. Local regulations on the disposal of chimney cleaning waste should be followed.
Conclusion
Regular creosote removal is a critical maintenance that can greatly benefit the performance and safety of your outdoor boiler. This simple, step-by-step guide will assist you in maintaining an efficient and safe heating system with minimal adverse environmental impact. If you need an easy fix to keep your outdoor boiler performing well, we recommend checking our recommended creosote remover products and other boiler maintenance supplies.
For more details on the care of your outdoor boiler and for high-quality creosote removal products, go to OutdoorBoiler.com. Take the best care of your outdoor heating system with the right maintenance and attention!


