Nowadays, along with the growing demand and popularity of cryptocurrencies, more and more internet users are showing interest in them. This growing popularity results in, the continuous emergence of crypto-related platforms including decentralized, centralized exchanges, software, hardware wallets, and more. Whether you are a beginner or advanced crypto user it must be required for you to use a crypto wallet or exchange for managing and trading your digital assets.
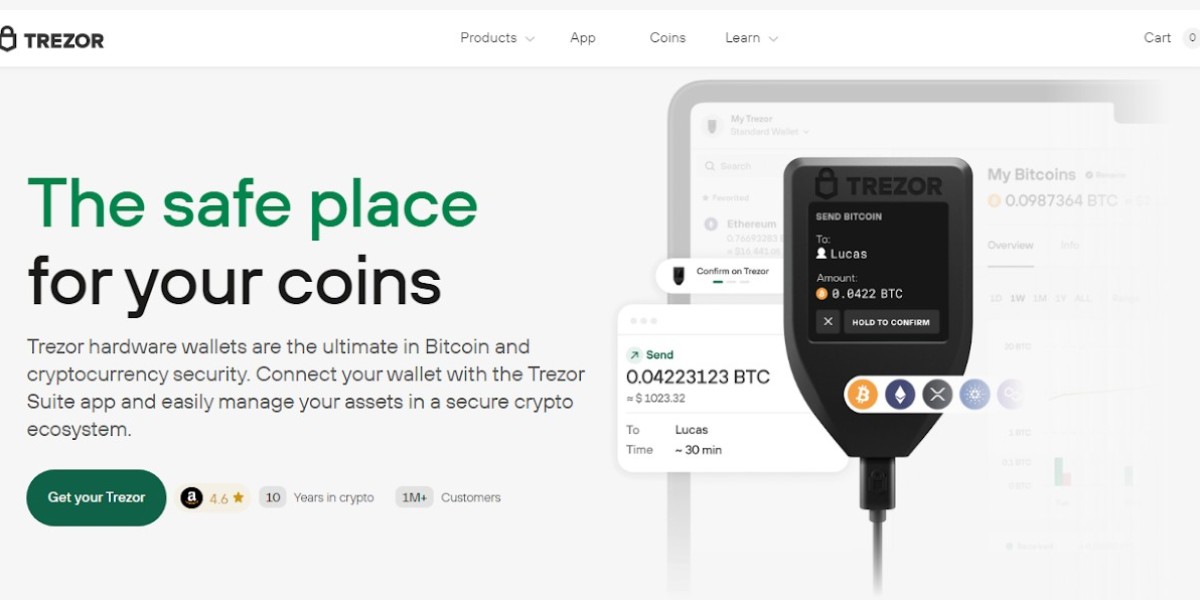
One such crypto hardware wallet is Trezor, one of the most popular wallets used by a lot of crypto traders and investors for storing their assets in a more secure way. If you are an Existing user of the Coinbase platform and looking for how to transfer crypto to Trezor Wallet then you are at the right place.
In our further content, we will cover an easy step-by-step guide that can help you to set up your Trezor device and transfer crypto coins or tokens to it by Coinbase.
How to set up a Trezor device?
Follow these simple steps to set up your Trezor hardware Wallet,
- In the first step, you have to connect your Trezor device to a computer or an Android device with the help of a compatible data cable.
- After connecting your Trezor Wallet device to your computer, you will be able to see an instruction on your Trezor screen to go to trezor.io/start.
- Visit, trezor.io/start on your preferred browser and download the “Trezor Suite app” to control your hardware device.
- Now install the firmware by clicking on the “Install Firmware” or “Yes, Install” button and wait until the installation process completes.
- After installing the firmware, cross-check the firmware fingerprints on your Trezor device and browser screen, and then click “Continue” on your Trezor device.
- Now click on the “Continue” button on your Trezor suite app and then select the “Create new wallet” option.
- Once you select the “Create new wallet” option, you will be prompted to choose the “Standard seed backup” option for wallet backup.
- Click or tap on the “Confirm” button on your Trezor device and then you will be able to see a text on your screen i.e., “Your wallet is almost ready”.
- Click or tap on the “Create backup” button and then click on the “Begin backup” button on your screen.
- Now again click on the “Confirm” button on your Trezor Wallet device in order to see the list of words in the seed phrase and then write it down in a safe place.
- After recording all the words in the correct order, go further with the on-screen instructions.
- In the last step, you just have to create a new pin for the Trezor login by following the on-screen instruction to finish the setup process of your Trezor device.
Moving Crypto from Coinbase to Trezor:
Follow these simple steps, to receive crypto from Coinbase to your Trezor device after Trezor login,
- Login to your Coinbase.com account on your preferred browser.
- Scroll down and select the asset that you would like to transfer.
- Click on the “Wallet” tab and then you will be able to see a “Send and Receive” section at the bottom left corner of your screen.
- Go to the “Send” section and then enter the amount of the crypto that you would like to send.
- Now log into your Trezor suite app and then click on the crypto that you would like to receive under the “Assets” section.
- Click on “Receive” and then on “Show full address”.
- Click on the “Confirm” button on your Trezor Wallet device and then copy the address.
- Switch back to your Coinbase account and paste the address under the “Send Section”.
- In the last step, click on the “Continue” button to finish the process of moving crypto from Coinbase to Trezor device.
Bottom Line:
Overall, the process of setting up a Trezor device and transferring crypto coins or tokens from Coinbase.com to Trezor Wallet is easy and straightforward, that can be done in just a few clicks or taps. However, a Trezor device is one of the secure ways to store your crypto coins or tokens, as it is a type of hardware wallet which means it can’t be infected by viruses and hacked over an internet connection. We hope that the information mentioned by us in our above content was helpful to you.
