Wooden flooring has been a timeless choice for homeowners and interior designers alike, thanks to its warmth, elegance, and long-lasting appeal. Installing wooden flooring is a relatively straightforward process if done correctly, but it's important to understand the steps involved to achieve the best results. Whether you’re remodeling your home or building a new one, this guide will walk you through everything you need to know about wooden flooring installation.
Why Choose Wooden Flooring?
Before diving into the installation process, let’s take a quick look at why wooden flooring remains a popular option for both residential and commercial spaces:
- Aesthetic Appeal: Wooden floors offer a natural, timeless beauty that complements a wide range of design styles.
- Durability: With proper care, wood floors can last for decades, making them a cost-effective investment.
- Easy to Maintain: Unlike carpets, wooden floors are easy to clean, and they don’t trap dust or allergens.
- Increase Property Value: Homes with wooden flooring often see an increase in property value due to the material's luxury appeal.
Types of Wooden Flooring
When planning a wooden flooring installation, you’ll need to select the type of wood that best suits your needs. Here are the most common types:
- Solid Hardwood: Made from a single piece of wood, solid hardwood floors are durable and can be sanded and refinished multiple times.
- Engineered Hardwood: Composed of multiple layers, engineered wood is more resistant to moisture and is ideal for areas like basements or kitchens.
- Laminate Wood: Though not made of real wood, laminate mimics the appearance of wood at a more affordable price, making it a popular choice for budget-conscious buyers.
Preparing for Wooden Flooring Installation
Proper preparation is crucial to ensure a smooth installation process. Here’s a checklist of steps to take before you begin:
- Measure the Room: Accurately measure the space where the flooring will be installed to ensure you purchase the right amount of material.
- Acclimate the Wood: Wood is a natural material that can expand and contract based on temperature and humidity. Before installation, let the wood acclimate in the room for at least 48 hours.
- Prepare the Subfloor: The subfloor should be clean, dry, and level. Any imperfections should be addressed before installation to avoid problems later.
- Gather Tools and Materials: Make sure you have all the necessary tools and materials, including:
- Wooden planks or flooring panels
- Underlayment (if necessary)
- Adhesive or nails
- A saw (for cutting planks to size)
- Spacers (to leave expansion gaps)
- Hammer or nail gun
Wooden Flooring Installation Methods
There are a few different methods for installing wooden floors, depending on the type of wood chosen and the room's layout. The most common installation techniques include:
1. Nail-Down Method (for Solid Hardwood)
This is the traditional method for installing solid hardwood flooring. Planks are nailed directly into the subfloor, ensuring a secure and durable finish.
- Step 1: Lay the first row of planks along the longest wall, using spacers to leave a small gap between the wood and the wall for expansion.
- Step 2: Continue laying the planks, making sure they interlock tightly, and secure them with nails.
- Step 3: Cut the last row to fit, leaving the same expansion gap.
2. Glue-Down Method (for Engineered Hardwood)
The glue-down method is ideal for engineered wood floors and is often used when you have a concrete subfloor. Adhesive is applied to the subfloor, and the planks are glued down.
- Step 1: Spread the adhesive over the subfloor in small sections using a trowel.
- Step 2: Lay the planks into the adhesive, making sure they are perfectly aligned.
- Step 3: Continue applying adhesive and laying planks, ensuring the rows are straight and secure.
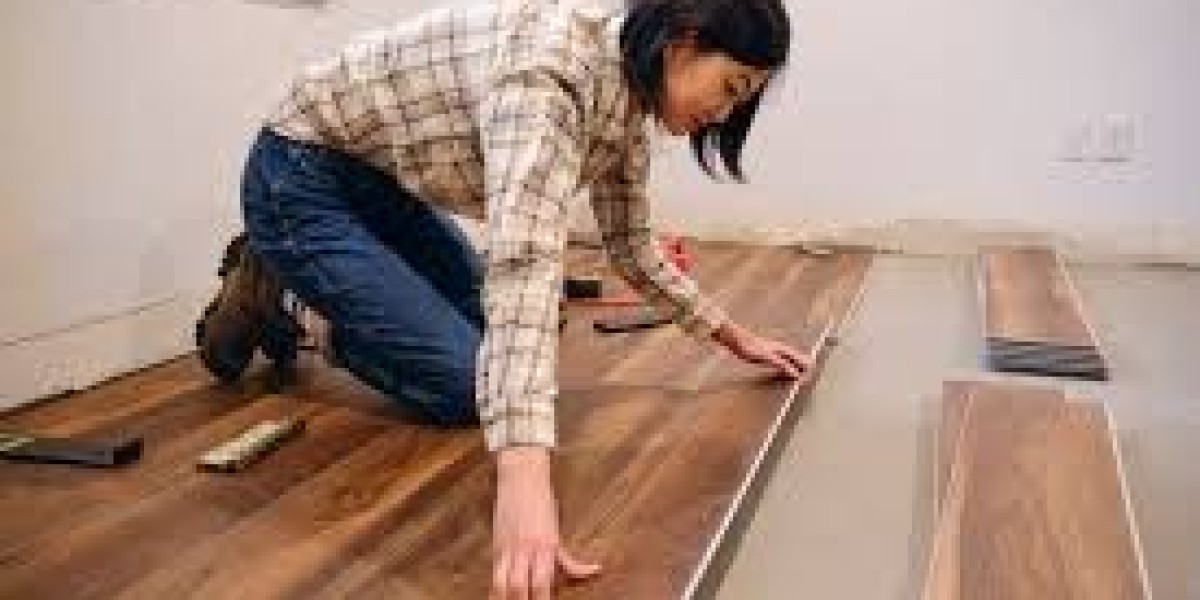
3. Floating Floor Method (for Laminate and Engineered Hardwood)
A floating floor is one where the planks do not get attached to the subfloor, making installation easier and faster. The planks simply lock together using a tongue-and-groove system.
- Step 1: Lay down an underlayment, if necessary, to provide additional cushioning and soundproofing.
- Step 2: Start laying the first row of planks along the longest wall, ensuring the edges click together tightly.
- Step 3: Continue laying planks, cutting them as needed for the final row, and leave an expansion gap.
Post-Installation Care
Once your wooden floor is installed, proper care and maintenance will ensure it stays beautiful for years to come:
- Clean Regularly: Sweep or vacuum the floor regularly to remove dirt and debris. Avoid using a wet mop, as water can damage the wood.
- Use Rugs and Mats: Place rugs in high-traffic areas to protect the floor from wear and tear. Mats near entrances can help trap dirt before it reaches the floor.
- Refinish When Necessary: Depending on the type of wood and wear, you may need to refinish the floor every 5-10 years to restore its luster and protect it from damage.
Conclusion
Wooden flooring installation can be a rewarding DIY project or a professional endeavor that transforms the look and feel of your home. By understanding the types of wood available, the installation methods, and the proper care and maintenance, you’ll be able to enjoy your new wooden floors for years to come. Whether you opt for solid hardwood, engineered wood, or laminate, the classic charm and durability of wooden floors are sure to enhance your living space.