As cryptocurrency is growing in popularity around the world, more creative and powerful crypto wallets and exchanges are continuously emerging to provide a better experience to their users. One such wallet is MetaMask, which comes in the form of browser extensions, and mobile apps for both Android and iOS users. It is also considered the perfect choice for users who are not technophiles as it offers an easy-to-use interface and excellent privacy.
Along with that the platform also allows its users to create as many accounts as possible. And if you are also a proud user of the MetaMask platform and looking for steps to add multiple accounts on MetaMask or delete them, then this write-up is especially for you.
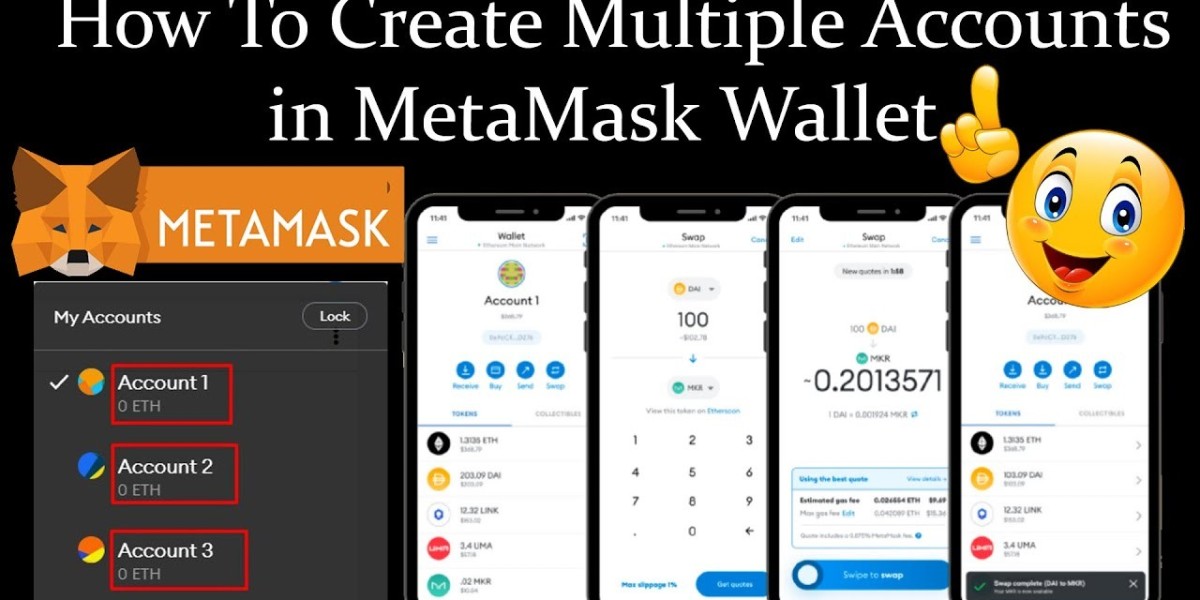
In our further content, we will cover some easy instructions that will help you to create and delete MetaMask multiple accounts on its browser extension and mobile app.
Steps to Create Multiple Accounts on MetaMask Extension:
Follow these simple steps to create MetaMask multiple accounts,
- Open your preferred browser and then log in to your MetaMask Extension account.
- Now, click on the accounts drop-down icon.
- Hit on the “+ Add account” option.
- In last, type your preferred name for the account and then hit on “Create” to confirm your request.
Steps to Create Multiple Accounts on MetaMask App:
Follow the given below instructions to create MetaMask multiple accounts on its mobile app.
- Launch MetaMask App on your preferred mobile device.
- Use your biometrics and password to log in to your wallet.
- Hit on the hamburger icon and then click on your account name.
- In the last, click on “Create New Account” in the pop-up section to finish the entire process.
By following the same steps as mentioned in both of the above sections of this write-up, you can create multiple accounts.
How can I delete MetaMask multiple accounts?
If you want to get rid of MetaMask multiple accounts which are not in use, then we want you to clarify that there is no direct solution to delete them. But, it can be done by restoring your main account with SRP (secret recovery phrase) by following the given below instructions.
Note: We have taken MetaMask Extension as an example in our further steps, but the steps are similar for both whether you use its Mobile App or Extension.
- In the first step, launch your MetaMask Extension and then unlock your wallet by using the correct login password.
- Now make sure that you are on the Ethereum mainnet network, if not then shift it before starting any further process.
- Click on the accounts drop-down icon and then hit on “Account 1” which is your main account.
- Now, go ahead to the settings menu by clicking on the three vertical dots icon that is located at the top right corner of your screen.
- Hit on “Security & Privacy” and then on “Reveal SRP” to view your secret recovery phrase.
- Enter your unlock password in the given text field and then click on “Next”.
- Now, copy your secret recovery phrase and then click on “Close”.
- Again click on the three vertical dots icon, located at the top right corner of your screen, and then click on “Lock MetaMask”.
- Click on the “Import using secret recovery phrase” link and then type or paste your SRP in the given fields that you have copied in step 7.
- In the last step, you need to create a new password to unlock your wallet and then follow the further prompts to recover your main account.
Bottom Line:
Overall, that’s how you can create and delete MetaMask multiple accounts on its browser extensions or official app. In case you face any difficulty while creating and deleting your additional accounts, then review the instructions mentioned in the above sections of this write-up.