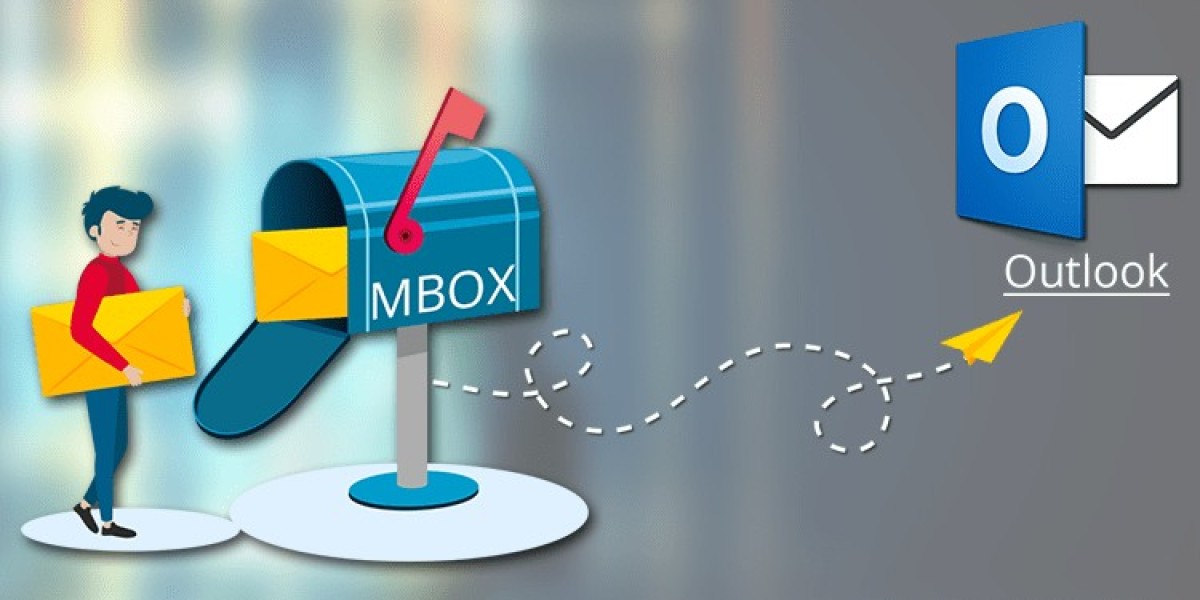
Ever felt trapped in the labyrinthine corridors of Google Takeout's MBOX files, yearning for the structured sanctuary of Outlook's PST format? You're not alone, weary email warrior! Many users find themselves longing for Outlook's powerful organization and seamless integration with other Microsoft tools. But the fear of data loss and convoluted conversion looms large. Worry not, for this blog will be your trusty map, guiding you through the steps of transforming your Google Takeout MBOX files into Outlook-friendly PST with ease and ensuring your digital memories flourish anew in their new home.
Why Use Outlook?
While Google Takeout's MBOX might be comfortable, Outlook offers a world of advantages:
- Organizational Powerhouse: Categorize, filter, and manage your emails with robust tools, leaving your inbox a picture of zen-like calm.
- Integration Paradise: Calendar, documents, notes, and contacts – it's all seamlessly connected in the Microsoft ecosystem, a one-stop shop for digital productivity.
- Enhanced Security: Microsoft's robust infrastructure keeps your data safe from digital predators, granting you peace of mind.
- Offline Access: Work on your emails even when the internet takes a siesta, ensuring you're never disconnected from your workflow.
Steps to Execute the MBOX to PST Conversion:
1. Unpacking the Takeout Treasure:
- Download Your Takeout Archive: You already did the heavy lifting by downloading your Google Takeout archive. Go find it nestled in your downloads folder, ready to be unearthed!
- Locate the MBOX Jewels: Within the archive, navigate to the "Mail" folder. Here, you'll find individual MBOX files, each holding a specific Gmail folder's emails.
2. Crossing the Conversion Bridge:
- Choose Your Weapon: Select a reliable MBOX to PST converter tool like Shoviv MBOX Converter or Stellar Converter MBOX to PST. They'll act as your trusty bridge, transforming the MBOX files into PST format.
- Forge the Path: Launch the converter and point it towards the "Mail" folder within your Takeout archive.
- Select Your Destination: Choose where you want the converted PST files to be saved – your desktop, another folder, the choice is yours!
- Initiate the Transformation: Click "Convert" and watch as the magic happens! The converter will process each MBOX file, creating individual PST files for each Gmail folder.
3. Welcome to the Outlook Eden:
- Open Outlook: Launch the Outlook application on your PC.
- Import the Transformed Treasure: Go to "File" > "Open & Export" > "Import/Export".
- Choose Your Path: Select "Import from another program or file" and click "Next".
- PST Paradise: Choose "Outlook Data File (.pst)" and click "Next".
- Navigate to the Converted PSTs: Browse to the location where you saved the converted PST files and click "Next".
- Select Your Destination: Choose the folder in Outlook where you want to import the emails and click "Finish".
Conclusion:
Conquering the Google Takeout MBOX to Outlook PST migration doesn't have to be a frustrating odyssey. With the right tools and a little digital courage, you can seamlessly transfer your emails and unlock the powerful features of Outlook. So, pack your email memories, follow these steps, and embrace the organizational paradise that awaits!
Bonus Tip: Explore Outlook's advanced features like categories, rules, and search options to maximize your email productivity in your new digital haven.
Farewell, Google Takeout Labyrinth, and hello, Outlook Oasis! Happy migrating!
Remember Note:
- Always back up your data before starting the conversion process.
- Consider specialized tools with batch processing capabilities for large mailboxes.
- Feel free to explore different MBOX to PST converter tools and choose the one that best suits your needs.
Resources:


