QuickBooks Web Connector serves as a bridge between QuickBooks and other software applications, facilitating the exchange of data and the automation of various financial processes.
By setting up the QuickBooks Web Connector, businesses can eliminate the need for manual data entry, reduce the risk of errors, and improve overall productivity.
In this comprehensive guide, we will walk you through the step-by-step process to set up QuickBooks Web Connector.
System Requirements for QuickBooks Web Connector
Before we dive into the installation and configuration process, it's important to ensure that your system meets the necessary requirements for the QuickBooks Web Connector. Here's a list of the key system requirements:
- Operating System: The QuickBooks Web Connector is compatible with Windows operating systems, including Windows 7, 8, 8.1, and 10.
- QuickBooks Version: The QuickBooks Web Connector is designed to work with QuickBooks Desktop versions, including Pro, Premier, and Enterprise. It is not compatible with QuickBooks Online.
- Internet Connection: A stable internet connection is required for the QuickBooks Web Connector to function properly, as it relies on the exchange of data between QuickBooks and other applications.
- User Permissions: The user running the QuickBooks Web Connector must have administrator privileges on the computer to ensure successful installation and configuration.
Ensure that your system meets these requirements before proceeding with the installation process.
Step-by-Step Guide to Installing QuickBooks Web Connector
Here's a step-by-step guide to install and set up QuickBooks Web Connector.
- Download the QuickBooks Web Connector: Visit the Intuit Developer website (https://developer.intuit.com/app/developer/qbwebconnector/overview) and download the latest version of the QuickBooks Web Connector.
- Run the Installation: Locate the downloaded installation file and double-click it to start the installation process. Follow the on-screen instructions to complete the installation.
- Accept the License Agreement: During the installation, you will be prompted to accept the license agreement. Read through the terms and conditions carefully and, if you agree, select the "I accept the terms in the license agreement" option and click "Next" to proceed.
- Choose the Installation Location: The installer will prompt you to select the installation location for the QuickBooks Web Connector. Unless you have a specific preference, it's recommended to accept the default location.
- Complete the Installation: Once the installation is complete, the QuickBooks Web Connector will be ready for configuration.
Configuring QuickBooks Web Connector for Seamless Integration
- Launch the QuickBooks Web Connector: After the installation, you can find the QuickBooks Web Connector in your Windows Start menu or search for it in the application list.
- Connect to QuickBooks: When the QuickBooks Web Connector opens, it will prompt you to select the QuickBooks company file you want to connect to. Choose the appropriate file and click "Continue."
- Authenticate the Connection: You will then be asked to provide your QuickBooks login credentials to authenticate the connection. Enter your username and password, and click "Continue."
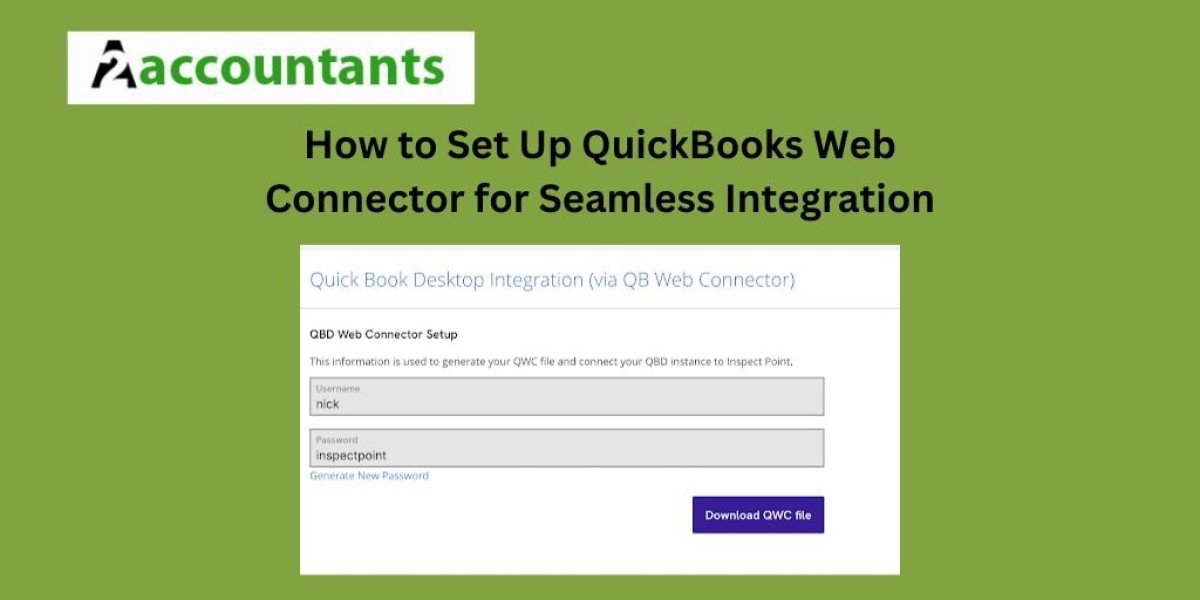
- Add Web Applications: In the QuickBooks Web Connector, click the "Add an Application" button to begin the process of integrating your desired third-party applications with QuickBooks. Follow the on-screen instructions to add and configure each application.
- Schedule Automatic Updates: To ensure that your data is regularly synchronized between QuickBooks and your connected applications, you can schedule automatic updates. In the QuickBooks Web Connector, click the "Schedule" button and set the desired update frequency.
- Review and Save the Configuration: Once you have added all the necessary applications and set the update schedule, review your configuration to ensure everything is set up correctly. Click the "Save" button to apply the changes.
Testing QuickBooks Web Connector Connection
After configuring the QuickBooks Web Connector, it's essential to test the connection to ensure that the integration is working as expected. Here's how you can do it:
- Initiate a Manual Update: In the QuickBooks Web Connector, click the "Update" button to manually trigger a data synchronization between QuickBooks and your connected applications.
- Monitor the Update Process: The QuickBooks Web Connector will display the progress of the update process, including any errors or issues that may arise. Review the logs carefully to ensure that the data is being exchanged correctly.
- Verify the Data: Once the update is complete, check the data in both QuickBooks and your integrated application QuickBooks to ensure that the information has been transferred accurately.
Conclusion
The QuickBooks Web Connector is a powerful tool that can significantly streamline your financial management processes and improve the overall efficiency of your business.
By following the step-by-step guide outlined in this article, you can set up QuickBooks Web Connector and integrate it with your desired third-party applications, ensuring a seamless and automated data exchange.