In the realm of home improvement, bathroom renovations hold a special place due to their transformative potential. Among the myriad of options available, shower tile installation stands out as a timeless and effective way to elevate the look and functionality of your bathroom. Whether you're aiming for a complete overhaul or a simple refresh, mastering the art of tiling can bring a new level of sophistication to your space. In this comprehensive guide, we'll explore expert tips for achieving stunning tile installation in your shower, from choosing the right materials to mastering the installation process.
Why Choose Tile for Your Shower?
Tiles are a popular choice for showers for a reason. They offer a combination of durability, aesthetics, and versatility that few other materials can match. Ceramic, porcelain, and natural stone tiles each bring unique benefits to the table. Ceramic and porcelain tiles are known for their water resistance and ease of maintenance, while natural stone tiles, such as marble or granite, offer unmatched beauty and a touch of luxury. Additionally, tiles come in a vast array of colors, patterns, and textures, allowing you to create a truly personalized look.
Selecting the Perfect Tiles
When it comes to selecting the right tiles for your shower, there are several factors to consider. Water resistance is paramount, as showers are exposed to high levels of moisture. Look for tiles that are specifically designed for wet areas. Slip resistance is another crucial aspect, particularly for the shower floor. Tiles with a textured surface or those rated for slip resistance will help prevent accidents. Lastly, think about the overall design and aesthetic you want to achieve. Whether you prefer a classic subway tile, a bold mosaic, or a sleek modern look, there's a tile out there to match your vision.
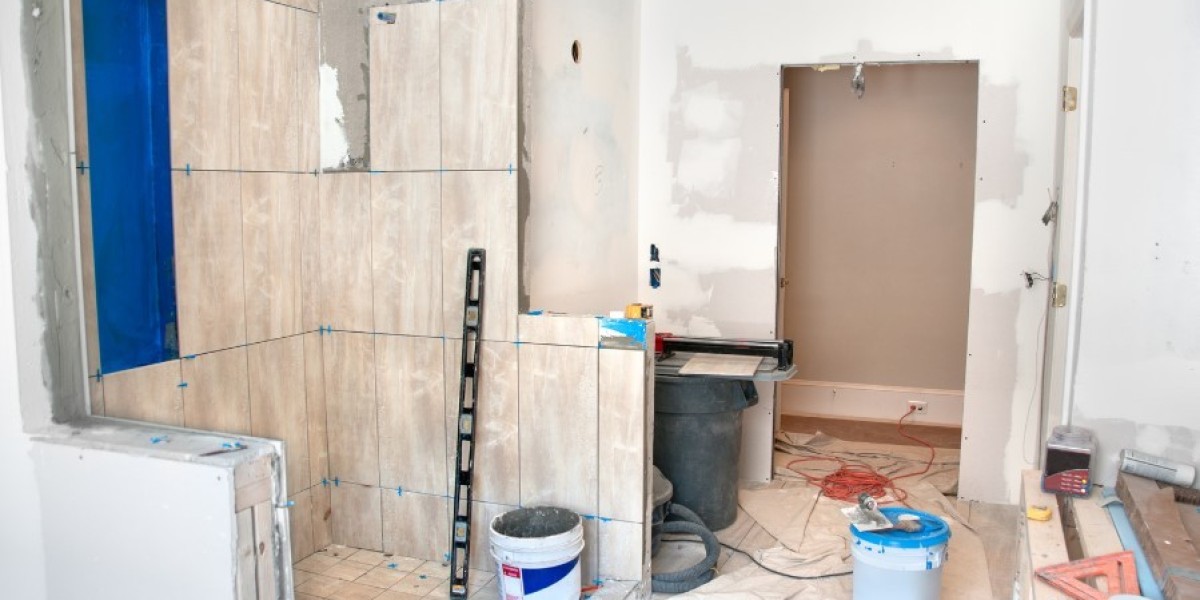
Preparing Your Shower for Tiling
Before you dive into the actual tiling process, proper preparation is key. Start by thoroughly cleaning the shower area to remove any dirt, soap scum, or old adhesive. Next, check the integrity of the shower walls and floor. Any signs of water damage or mold should be addressed before proceeding. It’s also essential to ensure that the surface is level and smooth, as uneven surfaces can lead to problems with tile adhesion.
Gathering Essential Tools and Materials
Having the right tools and materials on hand will make the tiling process much smoother. Here’s a list of essentials you’ll need:
- Tiles (including extras for cuts and mistakes)
- Tile adhesive or thin-set mortar
- Notched trowel for spreading adhesive
- Tile spacers to ensure even gaps
- Tile cutter or wet saw
- Grout (available in various colors)
- Grout float for applying grout
- Tile sealer for natural stone tiles
- Level and measuring tape
- Sponge and bucket for cleaning
Step-by-Step Guide to Shower Tile Installation
1. Planning and Layout
Begin by planning your tile layout. This step is crucial to avoid awkward cuts and ensure a professional finish. Measure the dimensions of your shower and mark the center point on each wall. This will help you create a balanced layout. Dry-lay the tiles on the floor to visualize the pattern and make any necessary adjustments.
2. Applying the Adhesive
Mix the tile adhesive according to the manufacturer’s instructions. Using a notched trowel, spread the adhesive onto a small section of the wall, starting from the bottom. Apply enough adhesive to cover an area that you can tile within 10-15 minutes. Hold the trowel at a 45-degree angle to create grooves in the adhesive, which will help the tiles adhere better.
3. Placing the Tiles
Begin placing the tiles onto the adhesive, starting from the bottom center and working your way outward. Use tile spacers between each tile to ensure consistent gaps. Press each tile firmly into the adhesive, giving it a slight twist to ensure good contact. Check frequently with a level to ensure the tiles are even.
4. Cutting Tiles to Fit
Inevitably, you’ll need to cut some tiles to fit around edges, corners, and fixtures. Measure the area that needs a cut tile, mark the tile accordingly, and use a tile cutter or wet saw to make precise cuts. Always wear safety goggles when cutting tiles to protect your eyes from dust and debris.
5. Allowing the Adhesive to Set
Once all the tiles are in place, allow the adhesive to set for at least 24 hours. This will ensure the tiles are firmly attached to the wall and ready for grouting.
6. Grouting the Tiles
Mix the grout according to the manufacturer’s instructions. Using a grout float, apply the grout to the gaps between the tiles, working diagonally across the joints to ensure they are fully filled. Remove excess grout with the float, holding it at a 45-degree angle. After about 15-20 minutes, use a damp sponge to wipe off any grout residue from the tile surfaces.
7. Sealing the Grout (Optional)
If you’ve used natural stone tiles or want extra protection for your grout, consider applying a grout sealer. Follow the manufacturer’s instructions for application and drying times.
Common Mistakes to Avoid
Even with careful planning, mistakes can happen. Here are some common pitfalls to watch out for:
- Skipping the prep work: Neglecting to clean and level the surface can lead to poor tile adhesion and a subpar finish.
- Incorrect adhesive application: Using too much or too little adhesive can cause tiles to loosen over time.
- Not using spacers: Skipping spacers can result in uneven grout lines and an unprofessional look.
- Rushing the process: Allowing proper drying times for adhesive and grout is crucial for long-lasting results.
Maintaining Your New Shower Tiles
Once your tiles are installed, proper maintenance will keep them looking stunning for years to come. Regularly clean your shower with a mild cleaner to prevent soap scum and mildew buildup. For natural stone tiles, use a pH-neutral cleaner to avoid damaging the surface. Periodically inspect the grout lines for any signs of wear or damage and reapply grout sealer as needed.
Conclusion
Transforming your shower with stunning shower tile installation is a rewarding project that can enhance the beauty and functionality of your bathroom. By choosing the right tiles, preparing the surface properly, and following a methodical installation process, you can achieve professional results that will stand the test of time. With careful attention to detail and a bit of patience, your shower can become a luxurious retreat that you’ll enjoy for years to come.
Embark on your shower tiling journey with confidence and creativity, and watch your bathroom transform into a stylish and inviting space. Happy tiling!