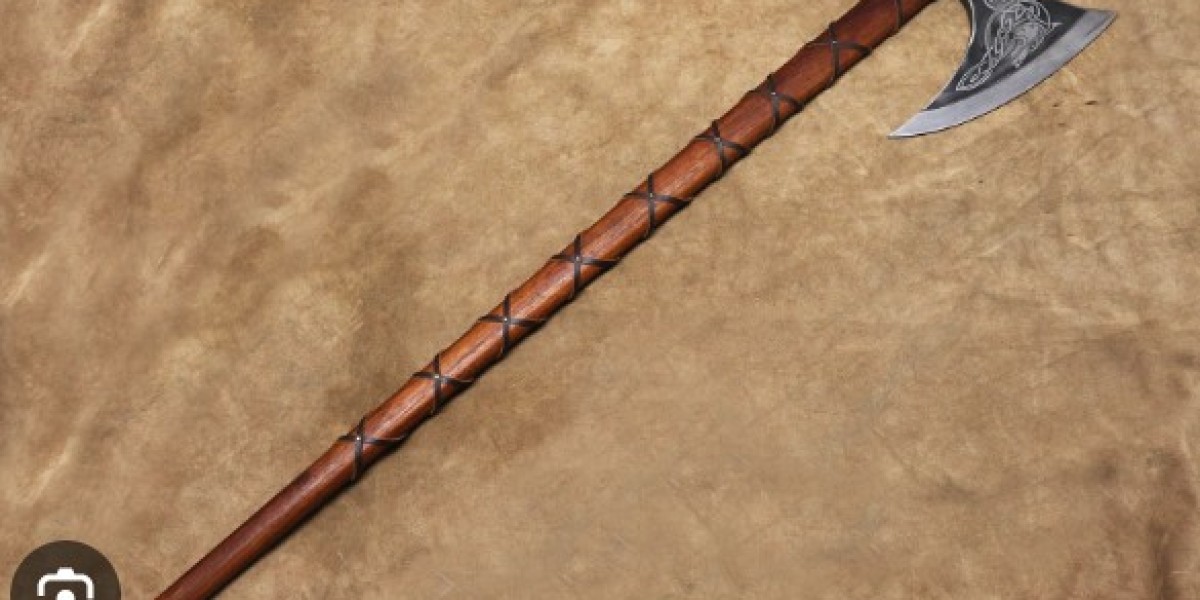
The Viking axe is not just a weapon or tool; it is a testament to the skill, knowledge, and artistry of ancient blacksmiths. The process of forging a Viking axe required meticulous attention to detail, an understanding of materials, and mastery of various techniques. This article delves into the intricate process of forging a Viking axe, from selecting the right materials to the final touches that make each axe a unique masterpiece.
Materials Selection
The quality of an axe begins with the selection of materials. Viking blacksmiths primarily used iron, which was abundant in Scandinavia. In later periods, as their metallurgical skills advanced, they incorporated steel to enhance the axe's durability and sharpness.
- Iron: Iron ore was extracted from bogs and then smelted in a furnace to produce wrought iron. This material was workable and could be shaped easily, but it was relatively soft.
- Steel: By adding carbon to iron, blacksmiths could create steel, a harder and more durable material. Steel was often used for the cutting edge of the axe, providing a sharper and longer-lasting blade.
The Forging Process
The forging of a Viking axes involved several key steps, each requiring precision and expertise.
1. Heating the Metal
The first step in forging an axe was to heat the metal to a high temperature, making it malleable. Blacksmiths used charcoal-fired forges, which could reach temperatures sufficient to soften iron and steel.
2. Shaping the Axe Head
Once the metal was heated, the blacksmith would begin shaping the axe head. This process involved repeatedly hammering the metal on an anvil, gradually forming the desired shape. The shape of the axe head varied depending on its intended use, with some designed for chopping wood and others for combat.
- Bearded Axe: For a bearded axe, the blacksmith would focus on extending the lower part of the blade, creating the distinctive "beard" that allowed for a wider cutting edge.
- Dane Axe: For a Dane axe, the emphasis was on creating a large, broad blade that could deliver powerful blows.
3. Welding the Cutting Edge
To enhance the axe's cutting ability, blacksmiths often welded a strip of high-carbon steel to the edge of the iron blade. This process, known as pattern welding or forge welding, involved heating both pieces of metal and then hammering them together until they fused into a single piece. This combination provided the toughness of iron with the sharpness of steel.
4. Hardening and Tempering
After shaping and welding, the axe head needed to be hardened and tempered. Hardening involved heating the blade to a high temperature and then rapidly cooling it in water or oil. This process increased the blade's hardness but also made it brittle.
To reduce brittleness and improve toughness, the blade was then tempered. This involved reheating the blade to a lower temperature and allowing it to cool slowly. Tempering created a balance between hardness and flexibility, ensuring the blade could withstand heavy use without breaking.
Final Touches
The final steps in forging a Viking axe involved refining the blade and adding decorative elements.
1. Grinding and Sharpening
The blacksmith would grind and sharpen the blade to achieve a keen edge. This step required precision to ensure the blade was uniformly sharp and capable of making clean cuts.
2. Decoration
Viking axes were often decorated with intricate patterns and symbols, reflecting the owner's status and cultural identity. Blacksmiths used techniques such as engraving, inlaying, and etching to create these designs. Common motifs included animal figures, knotwork, and runes.
3. Attaching the Handle
The final step was to attach a handle to the axe head. Handles were typically made from tough, flexible woods such as ash or oak. The blacksmith or a woodworker would shape the handle to fit snugly into the eye of the axe head, ensuring a secure attachment.
The Significance of the Viking Axe
The Viking axe was more than just a practical tool; it was a symbol of power, skill, and cultural identity. Each axe was a unique creation, reflecting the artistry and craftsmanship of the blacksmith who forged it. The process of forging a Viking axe combined technical expertise with artistic expression, resulting in weapons and tools that were both functional and beautiful.
Conclusion
Forging a Viking axe for sale was a complex and demanding process that required a deep understanding of materials and techniques. From selecting the right iron and steel to the final decorative touches, each step was crucial in creating a weapon that could withstand the rigors of battle and the demands of daily life. The Viking axe stands as a testament to the ingenuity and skill of ancient blacksmiths, whose craftsmanship continues to be admired and respected to this day.


