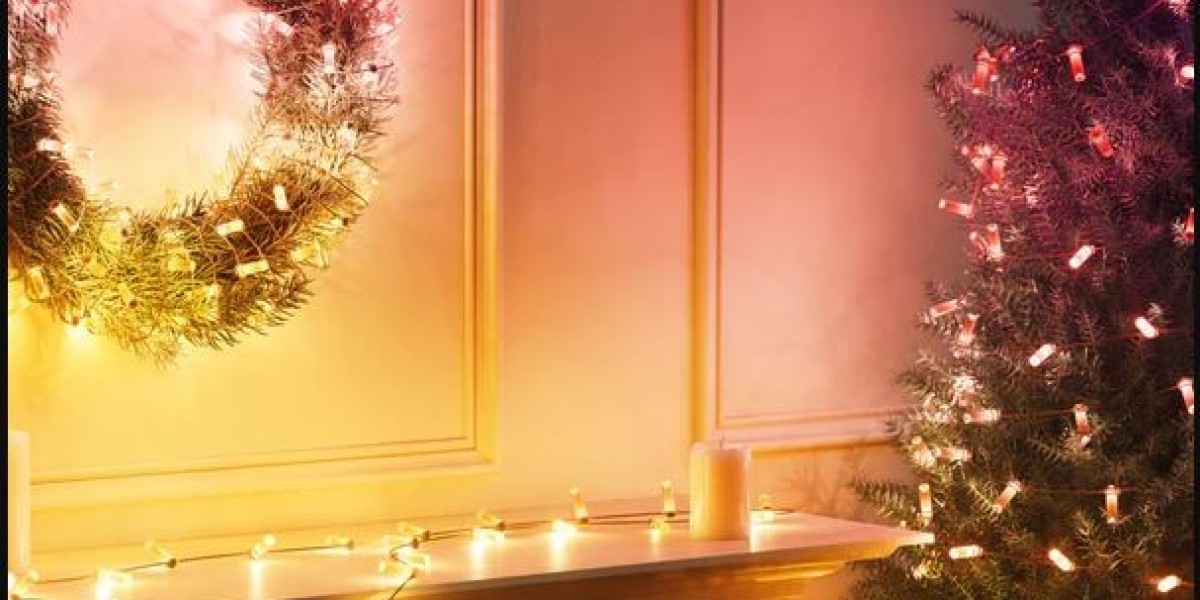
Christmas lights bring holiday cheer, but when they stop working, it can be frustrating. Whether it’s a single bulb or an entire strand, fixing them is often easier than replacing them. Follow these steps to troubleshoot and repair your Christmas lights.
1. Inspect the Lights
Before attempting any repairs, carefully inspect the lights. Look for visible damage such as frayed wires, broken bulbs, or loose connections. Check the plug and ensure it’s clean and not damaged. If the lights are tangled, untangle them gently to avoid further damage.
2. Test the Lights
Plug in the lights and see if the issue is with the entire strand or specific sections. If the whole strand doesn’t light up, the problem may lie in the plug, fuse, or wiring. For partially working strands, locate the dead section by checking each bulb with a tester or swapping it with a known working bulb.
3. Replace Faulty Bulbs
If you find burnt-out or broken bulbs, replace them with new ones of the same type and rating. Many Christmas lights rely on a single bulb to complete the circuit, so a bad bulb can cause the entire strand to fail. Make sure the new bulb is securely seated in its socket.
4. Check the Fuse
Open the plug’s fuse compartment, typically located inside a small sliding door. Remove and inspect the fuse for any blackening or breaks. Replace it with a new fuse of the same type if necessary. Always use fuses and replacement parts specified by the manufacturer to avoid safety risks.
5. Test and Secure the Strand
After making repairs, plug the lights back in to ensure they’re fully functional. If they still don’t work, the issue may be in the wiring, and replacing the strand may be safer. For working strands, secure loose bulbs or wires with electrical tape and handle them carefully during setup to prevent future issues.
With these simple steps, you can fix most common Christmas light problems and keep your holiday decorations glowing bright!


