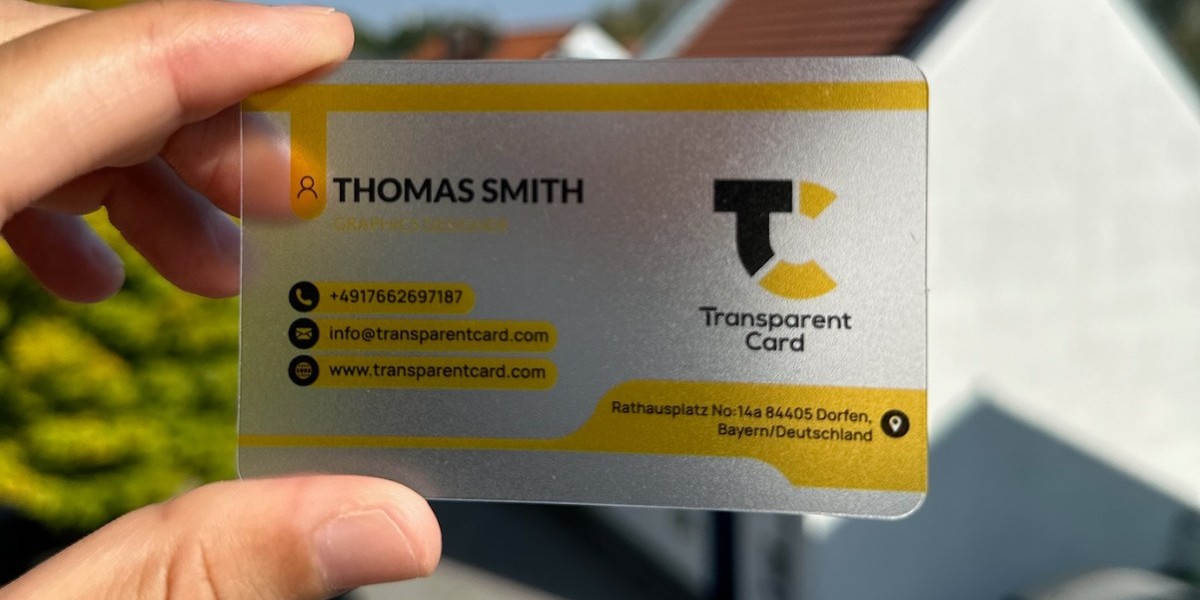
Step 1: Gather Your Supplies and Tools
Before you start, ensure you have all the necessary materials and tools for printing high-quality business cards:
Printer: A good-quality inkjet or laser printer is essential for professional-looking cards.
Cardstock: Choose thick, durable cardstock designed for business cards. Common weights range between 80 lb and 110 lb.
Business Card Templates: Use ready-made templates compatible with your software or create your own design.
Design Software: Popular options include Microsoft Word, Canva, Adobe Illustrator, or specialized card design software.
Cutting Tools: If your cardstock doesn’t come pre-perforated, you’ll need a paper cutter or sharp scissors.
Step 2: Design Your Business Card
Creating an attractive and functional design is crucial. Here’s how to make your business card stand out:
1. Choose a Layout
Use templates available in design software or websites like Canva.
Ensure your layout includes key elements: name, title, company logo, contact details, and a tagline or social media handles.
2. Select Colors and Fonts
Stick to a professional color palette that reflects your brand.
Use easy-to-read fonts, typically sans-serif for modern designs or serif for traditional looks.
3. Add Branding Elements
Incorporate your logo, company colors, and any branding guidelines.
Ensure your design aligns with your industry—for example, creative designs for artists and minimalistic styles for corporate professionals.
4. Set Up Bleed and Margins
Add a bleed area (typically 1/8 inch) to ensure no white edges appear after cutting.
Keep important text and graphics within the margin area to avoid accidental cropping.
Step 3: Prepare for Printing
Once your design is ready, optimize it for printing:
1. Check Print Settings
Adjust your printer settings to the highest quality print mode.
Select the correct paper type (e.g., heavy cardstock) in the printer’s settings.
2. Test Print on Plain Paper
Print a draft version on regular paper to check alignment, colors, and overall appearance.
Make adjustments to the design or printer settings as needed.
3. Load the Cardstock
Place the cardstock in the printer tray according to the manufacturer’s instructions.
Ensure the paper is loaded straight to prevent misalignment.
Step 4: Print Your Business Cards
Follow these steps to print your cards:
Print in Batches
To avoid paper jams or ink smudging, print a few sheets at a time.
Allow the ink to dry completely before handling the sheets.
Monitor Print Quality
Check each sheet for consistent color, sharpness, and alignment.
Recalibrate your printer if you notice any issues.
Step 5: Cut and Finish Your Cards
After printing, it’s time to cut your cards to the correct size:
1. Use Pre-Perforated Cardstock
If you used perforated cardstock, gently tear along the perforations to separate the cards.
Smooth the edges if necessary with a sanding block.
2. Cut Manually
For non-perforated paper, use a paper cutter for precise edges.
Align the cutting guide carefully to ensure uniform sizes.
3. Inspect and Finalize
Check each card for imperfections such as uneven cuts or smudges.
Discard or redo any cards that don’t meet your standards.
Step 6: Store Your Business Cards
Proper storage ensures your cards remain clean and professional:
Use a business card holder or box to protect them from bending or dirt.
Keep cards in a cool, dry place to prevent warping.
Tips for Success
Invest in Quality: High-quality materials and tools can significantly impact the final product.
Test Colors: Monitor colors carefully, as screen colors may differ from printed colors.
Stay Consistent: Ensure your business cards match other branding materials, such as brochures or websites.
Plan Ahead: Print extras to avoid running out during events or meetings.
Common Mistakes to Avoid
Overloading the Design: Keep it simple and avoid clutter.
Using Low-Quality Images: Ensure all graphics are high resolution (at least 300 DPI).
Skipping Test Prints: Test prints help identify issues before wasting expensive cardstock.
Ignoring Alignment: Misaligned designs can make your cards look unprofessional.
Conclusion
Printing business cards at home is an economical and convenient option that allows for complete customization. By carefully designing, preparing, and printing your cards, you can achieve professional results without leaving your home. Whether you’re a small business owner, a freelancer, or just getting started, this guide provides everything you need to create impressive business cards. Take your time, follow these steps, and start sharing your brand with confidence!


